How to connect Oode with Zapier
This tutorial will show you how to connect Oode with Zapier.
Step 1: Go to https://app.oode.com/ and login to your account.
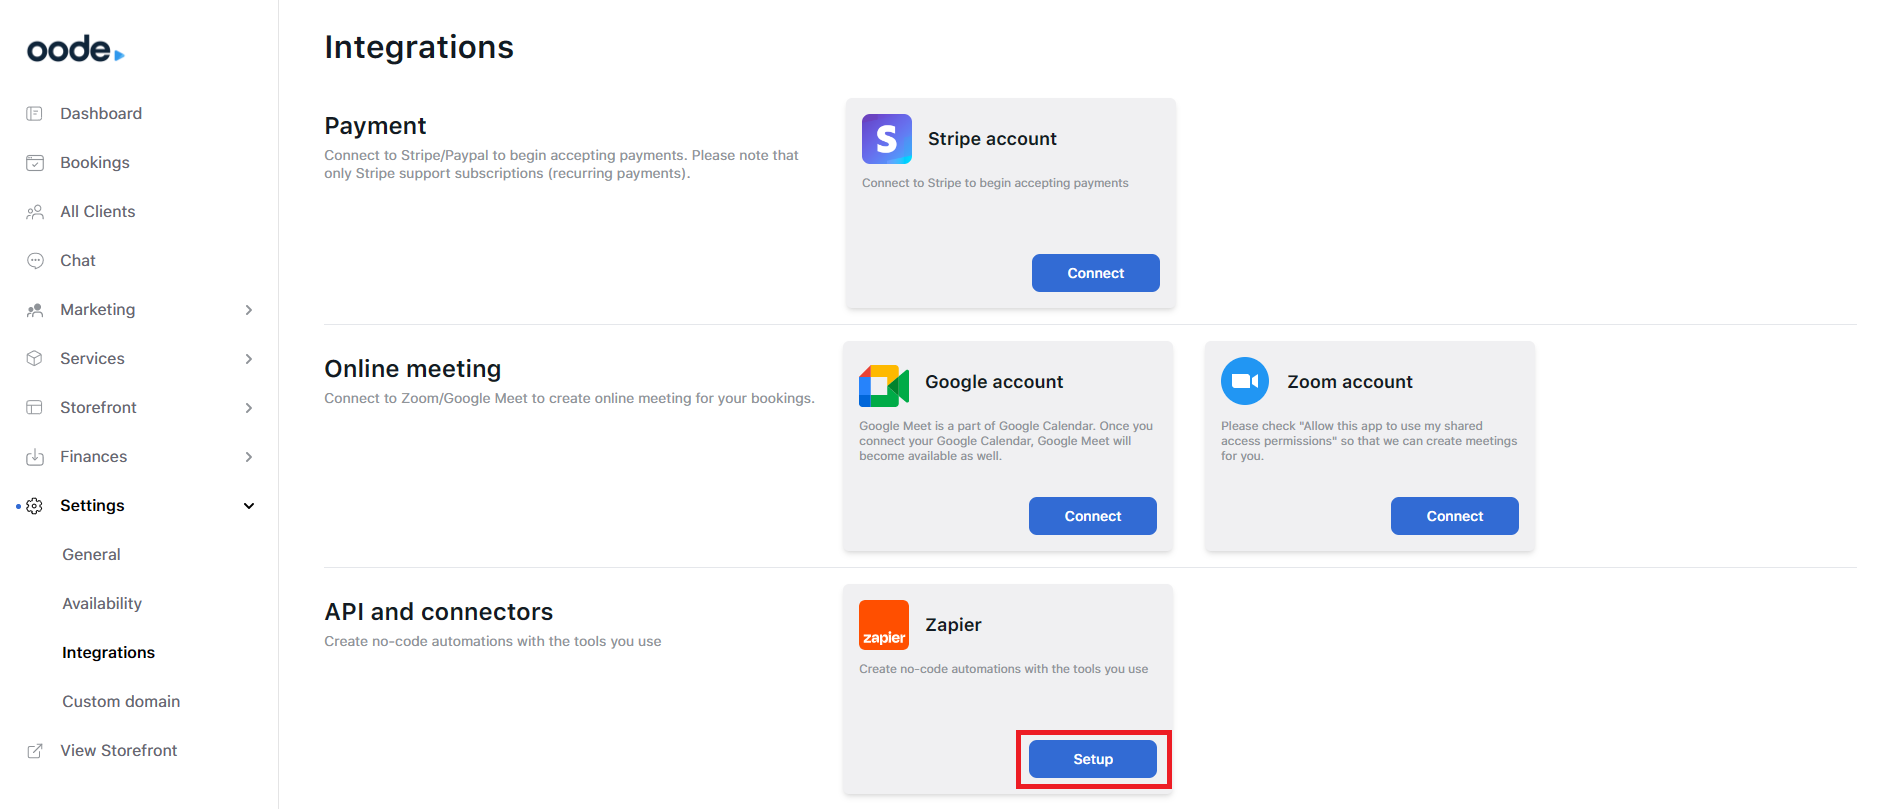
Step 2: Go to https://app.oode.com/dashboard/setting/connection find API and connectors section and click Setup button under Zapier card.
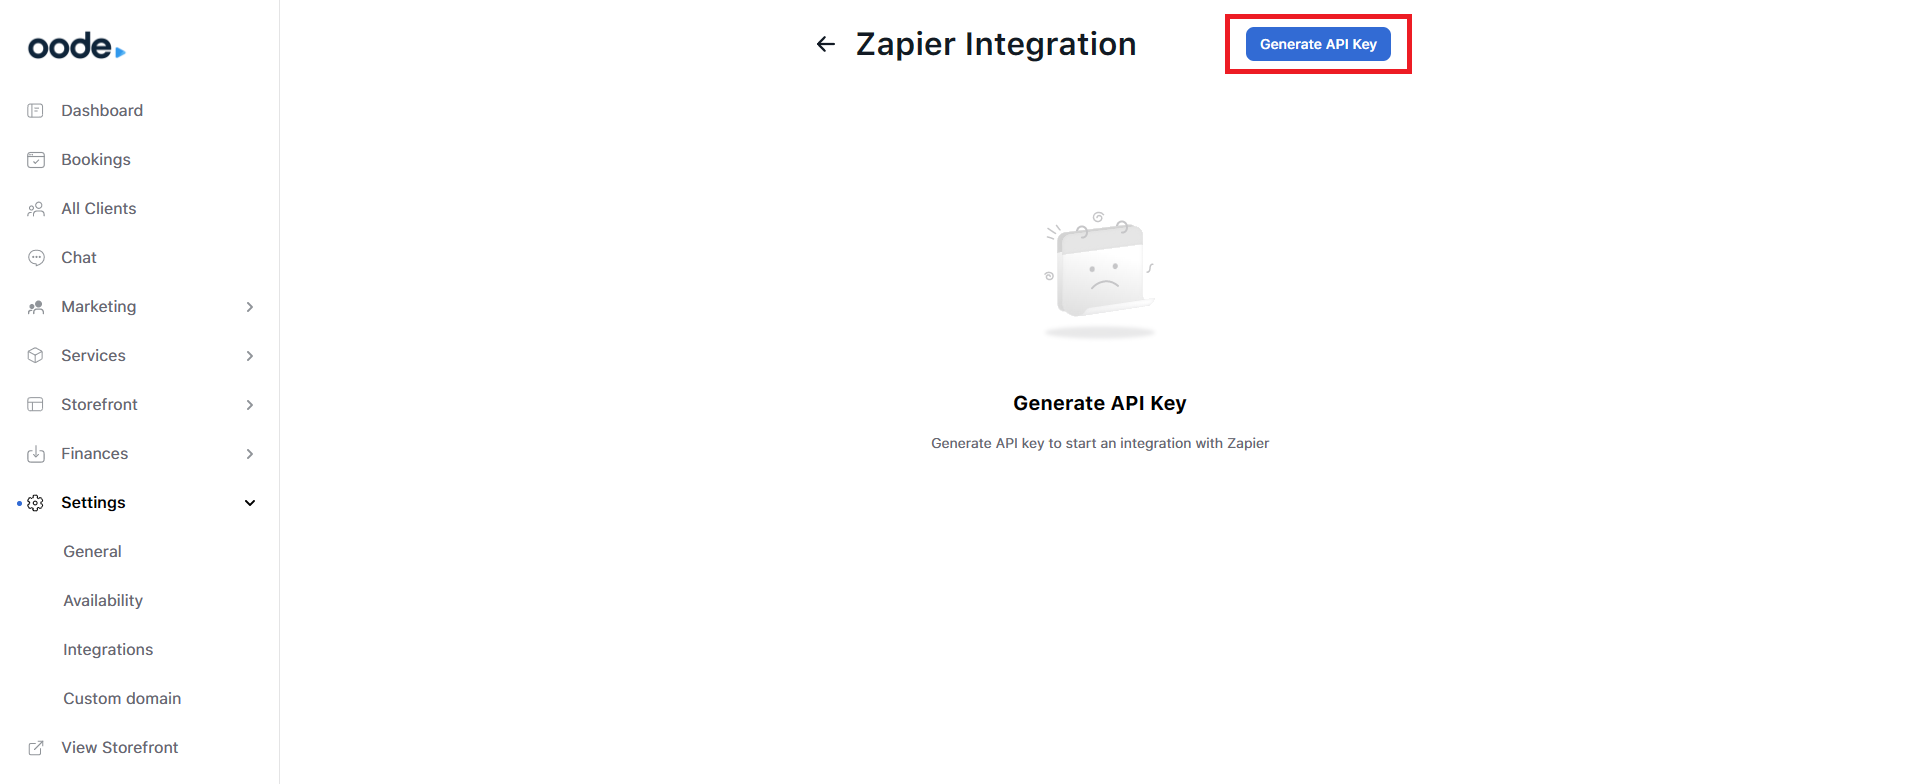
Step 3: Click Generate API Key
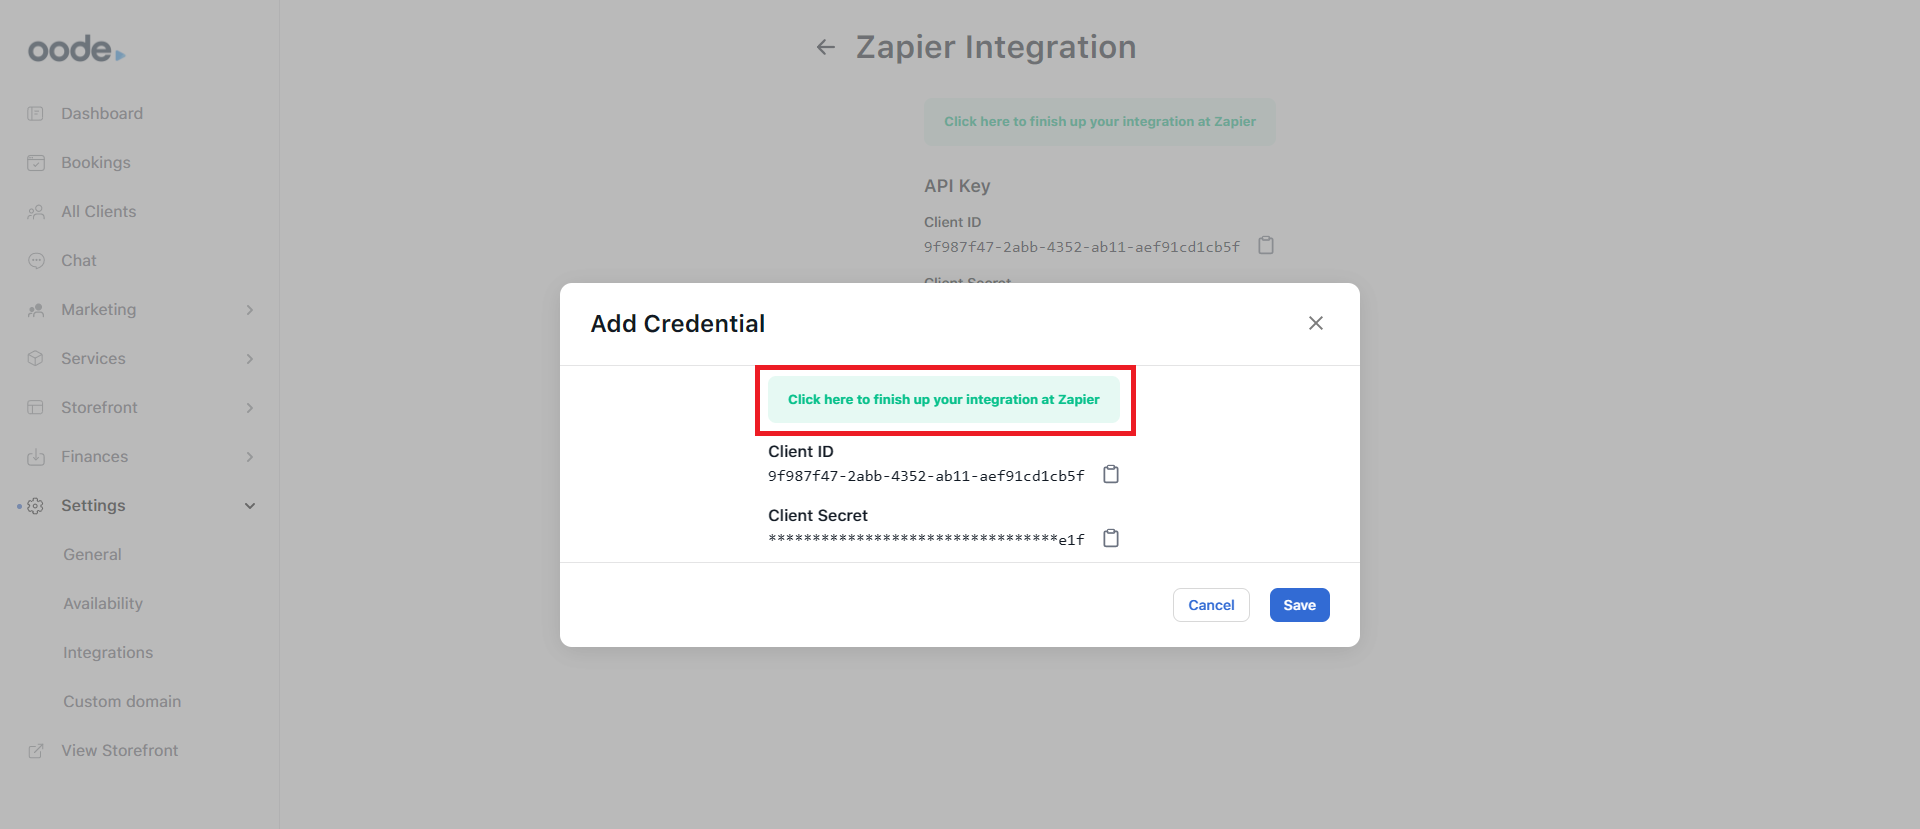
Step 4: Click Click here to finish up your integration at Zapier .
Step 5 (Optional): Login to your Zapier Account if you haven't logged in yet.
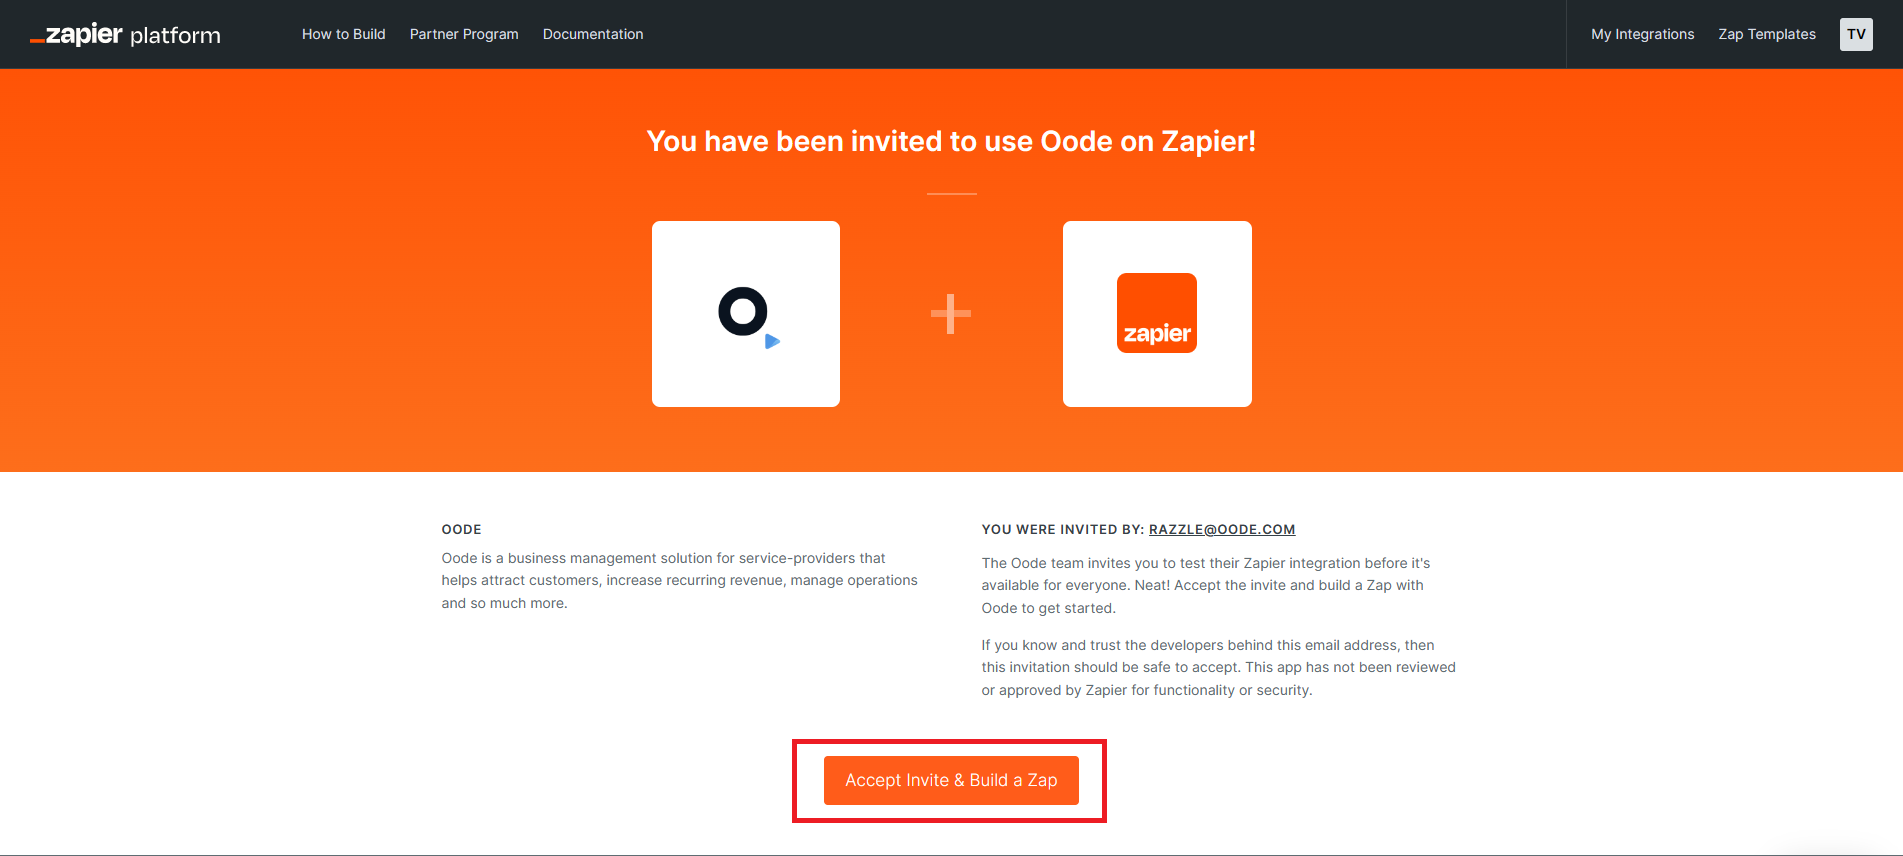
Step 6: Click Accept Invite & Build a Zap .
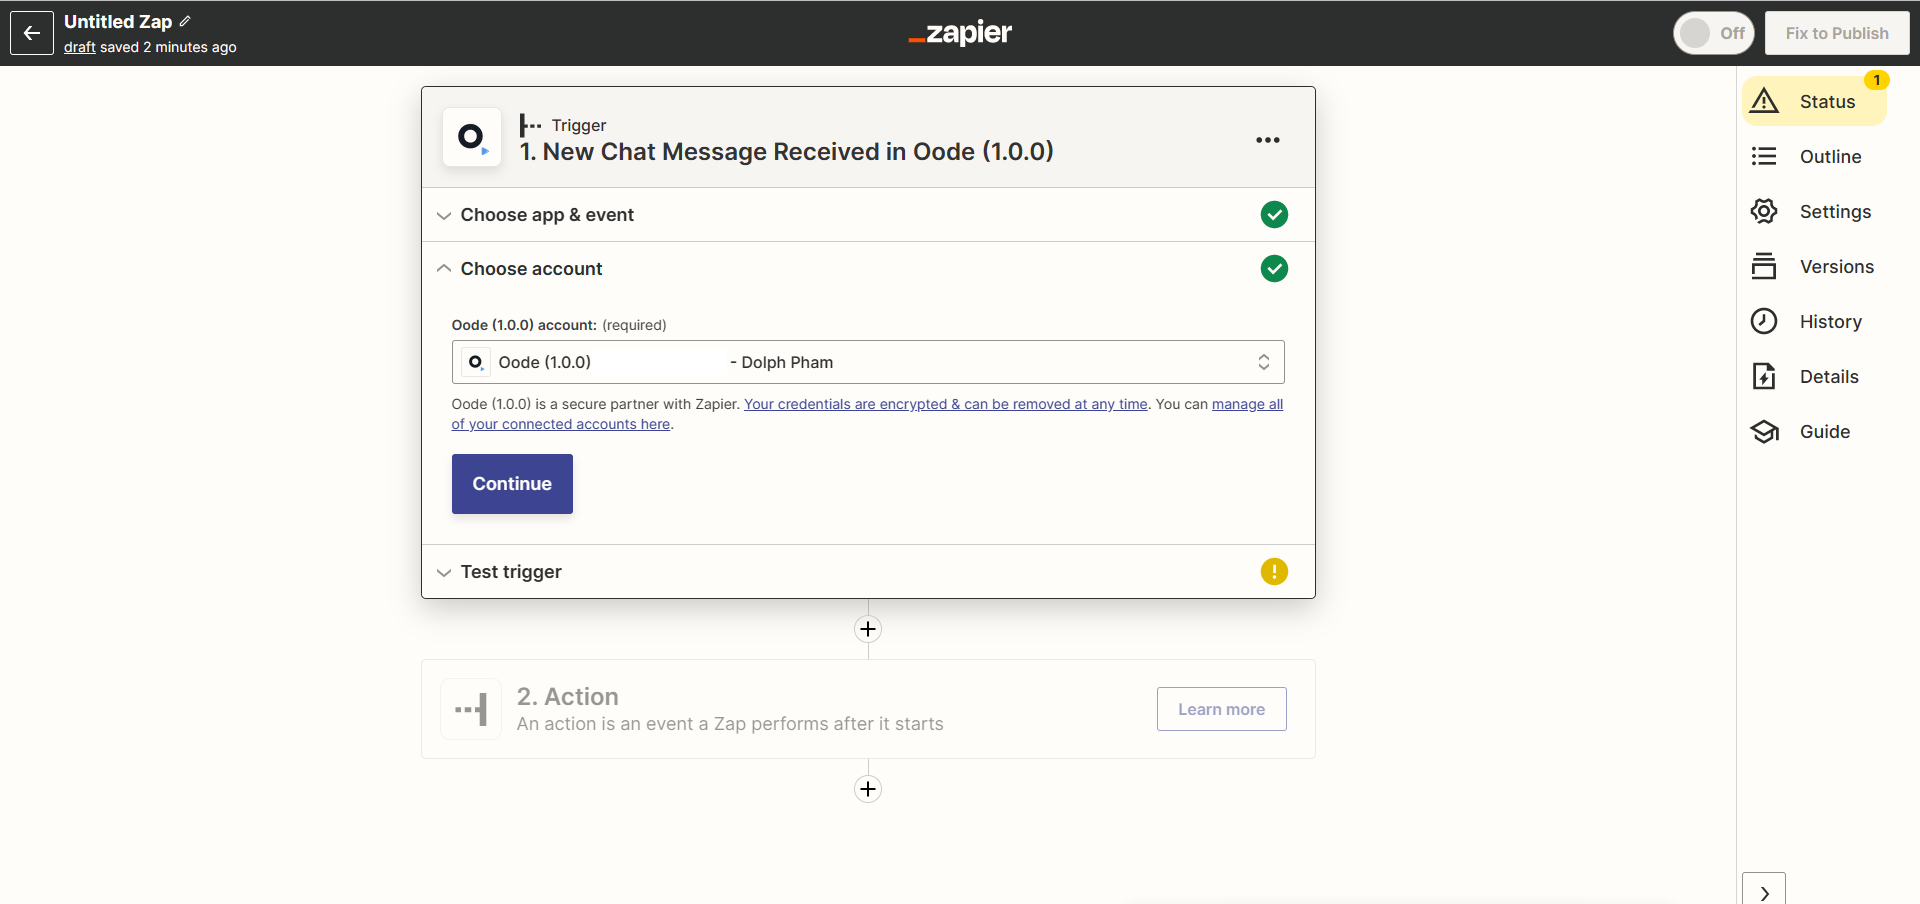
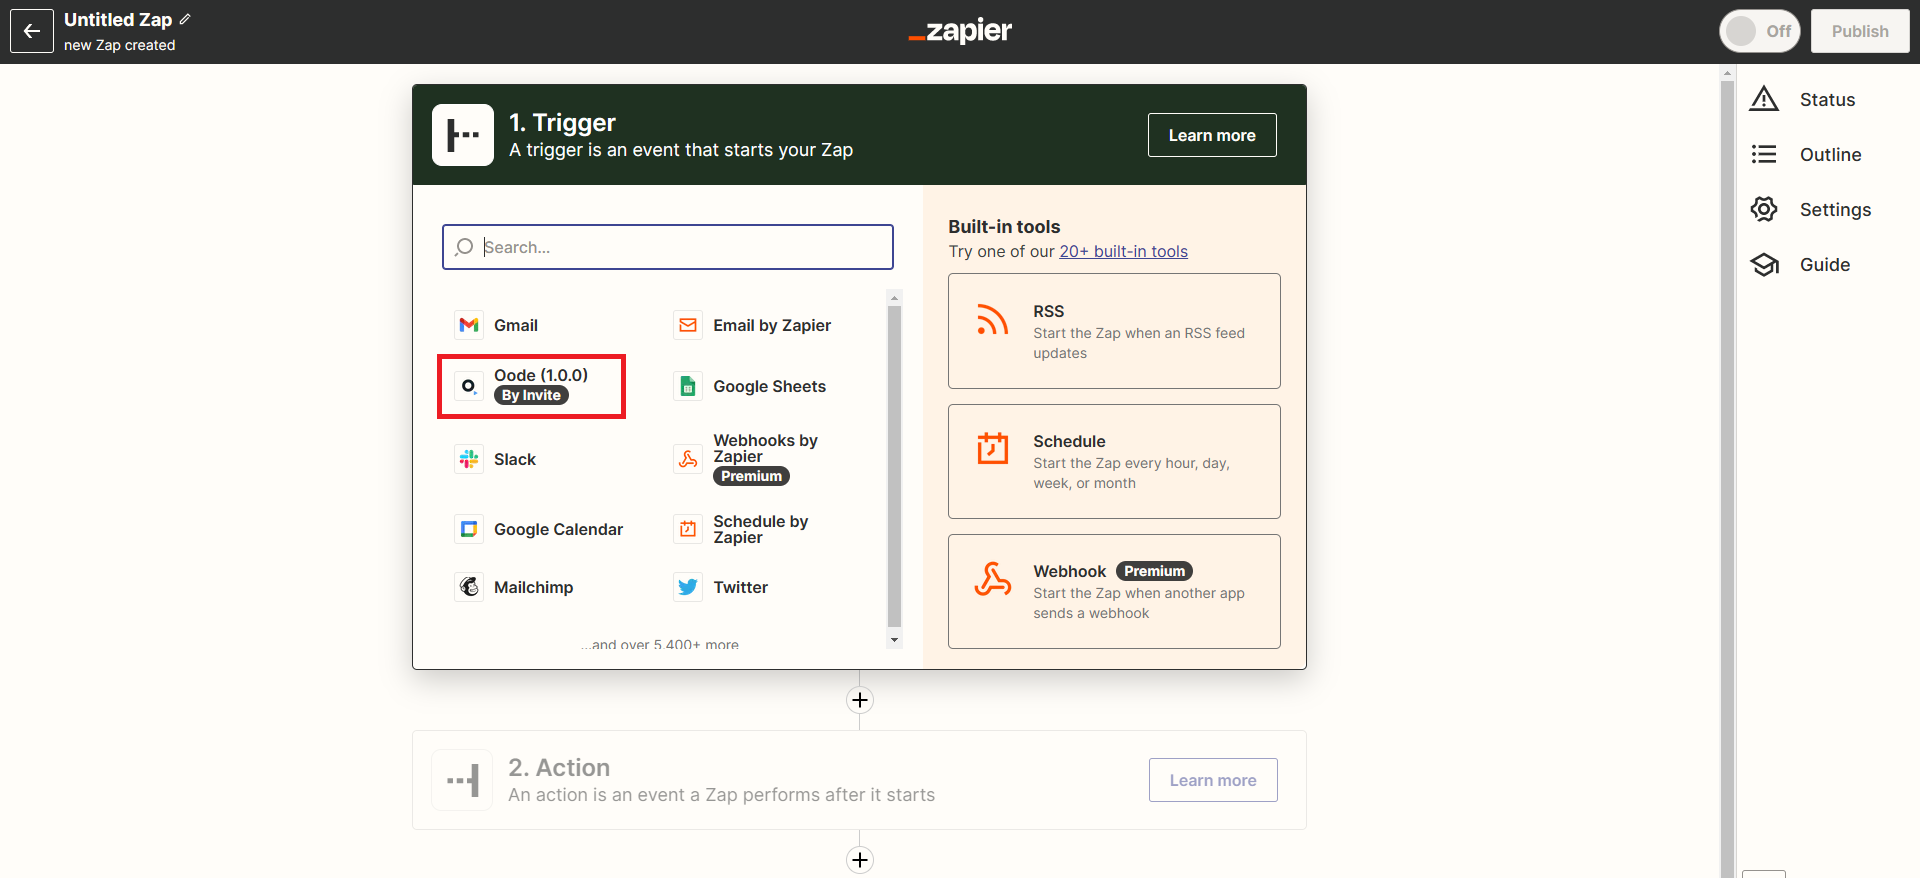
Step 7: Create your new Zap with the trigger from Oode.
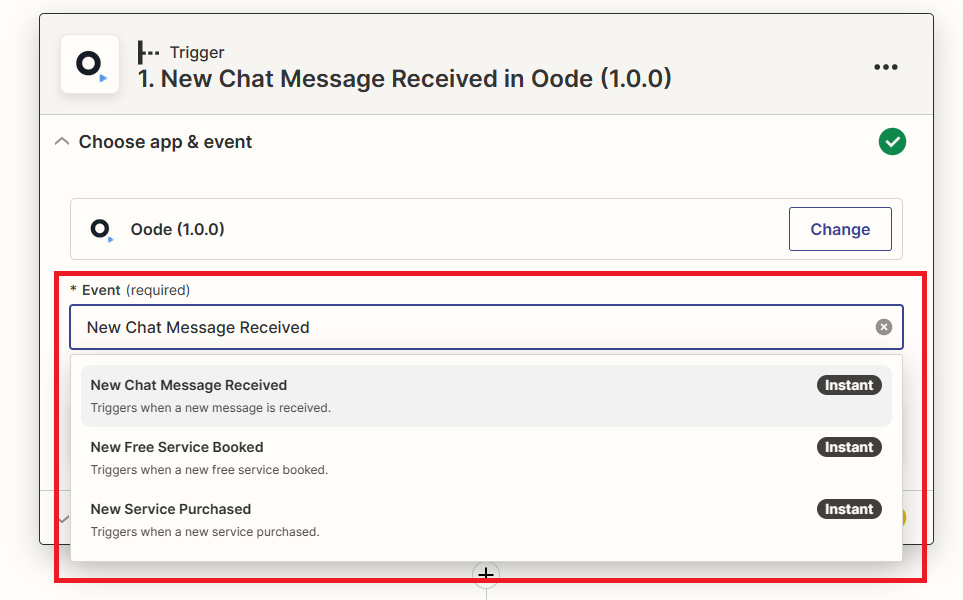
Step 8: Choose the event you want to trigger automation and click Continue
Step 9: Choose Connect new Account. A new window will popup and ask for Client ID and Client Secret.
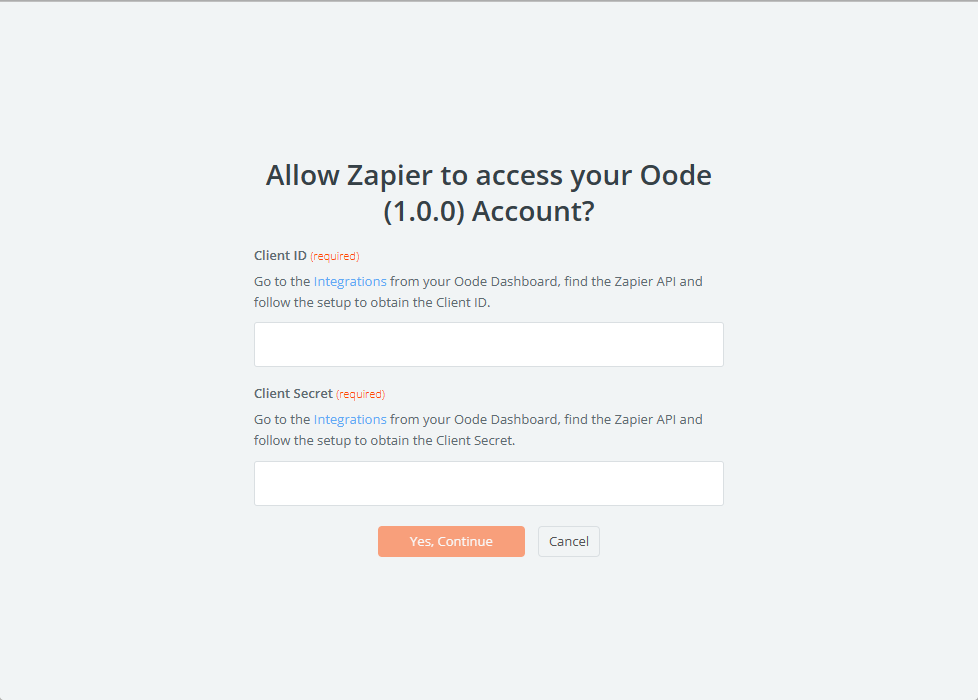
Step 10: Copy Client ID and Client Secret from Step 4, then paste to login form and click Yes, Continue.
Step 11: Continue setting up your workflow as normal.